
Overview: How to Install the iOS or iPhone Simulator on Mac
If you’re developing or testing iOS apps on a Mac, the iOS Simulator is an essential tool. It lets you run and debug apps in a virtual environment, no physical iPhone or iPad required! The Simulator comes bundled with Xcode, Apple’s official IDE for app development. Whether you’re a developer, QA tester, or just curious about how apps look on different devices, the Simulator can save you a lot of time and hassle.
What Is the iOS or iPhone Simulator & Why Use It?
The iOS or iPhone Simulator is a Mac app that mimics the functionality of real Apple devices (iPhone, iPad, Apple Watch, etc.). With it, you can:
- Run and test your iOS apps without needing every device physically.
- Try different device models and iOS versions to see how your app looks and behaves.
- Debug, inspect, and take screenshots or recordings easily.
- Test user interactions (taps, swipes, rotations) right from your Mac.
Why the Simulator Is Helpful (Even for Web Developers!)
- It’s super handy for testing web apps or websites on different iPhone models and screen sizes—no need to borrow or buy every device.
- You can quickly preview how your site looks on popular models like:
- iPhone 16, iPhone 16 Pro, iPhone 16 Pro Max
- iPhone 15, iPhone 15 Pro, iPhone 15 Pro Max
- iPhone 14 series and older
- You can check if your site or app design is responsive, if buttons are clickable, or if fonts look good, all without leaving your desk.
Why the Simulator Is Helpful (Even for Web Developers!)
1. Download and Install Xcode
- It’s super handy for testing web apps or websites on different iPhone models and screen sizes, no need to borrow or buy every device.
- You can quickly preview how your site looks on popular models like:
- iPhone 16, iPhone 16 Pro, iPhone 16 Pro Max
- iPhone 15, iPhone 15 Pro, iPhone 15 Pro Max
- iPhone 14 series and older
- You can check if your site or app design is responsive, if buttons are clickable, or if fonts look good, all without leaving your desk.
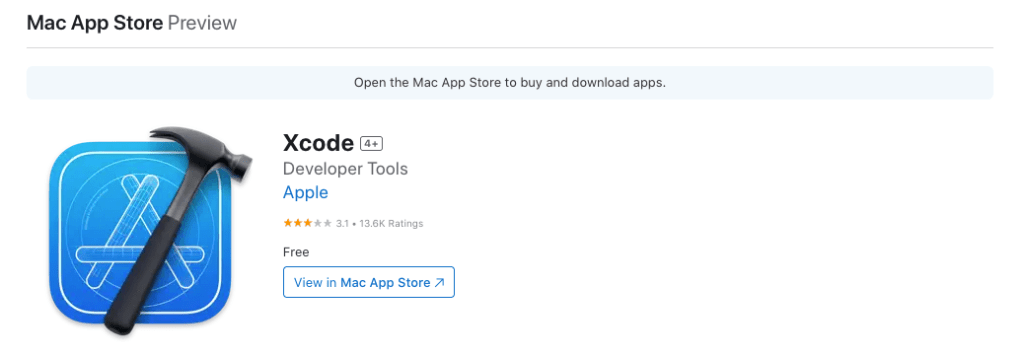
2. Open Xcode and Agree to Terms
- After installation, go to your Applications folder and open Xcode.
- You may be asked to agree to the license and install additional tools, just follow the prompts.
3. Install the Simulator for Your Preferred iOS Version
- In Xcode, click the top menu:
- Xcode → Settings… (or Preferences… on some versions)
- Go to the Components tab (may be called Downloads on older versions).
- You’ll see a list of Simulators for different iOS versions.
- Click the download arrow next to the version(s) you need.
4. Launch the Simulator
- You don’t need to open Xcode every time to use the Simulator!
- Press
Cmd + Spaceto open Spotlight, type Simulator, and select Simulator.app.
Extra Tips
- Install More Simulators:
In the Components tab, you can add or remove device Simulators as needed. - Save Space:
Uninstall Simulators for iOS versions you no longer need to free up space. - Simulator Features:
Try different device models, rotate devices, simulate different conditions (like poor network), and more.
Useful Links
- Xcode on Mac App Store:
https://apps.apple.com/us/app/xcode/id497799835 - Apple Xcode Documentation:
https://developer.apple.com/xcode/ - Apple Developer (Main Portal):
https://developer.apple.com/
That’s it! Now you can test your apps and websites on just about any Apple device, without ever leaving your Mac. Happy testing and developing!
If you have any questions or run into issues while setting up the Simulator, feel free to drop a comment below. I’m happy to help!